
First steps
Although the blog is available to all clients, a /blogs page will need to be built on your site first. Any customisation beyond our default layout may require some extra build work from us, so get in touch if you would like the blog feature.
Creating a new blog post
- Log into the admin
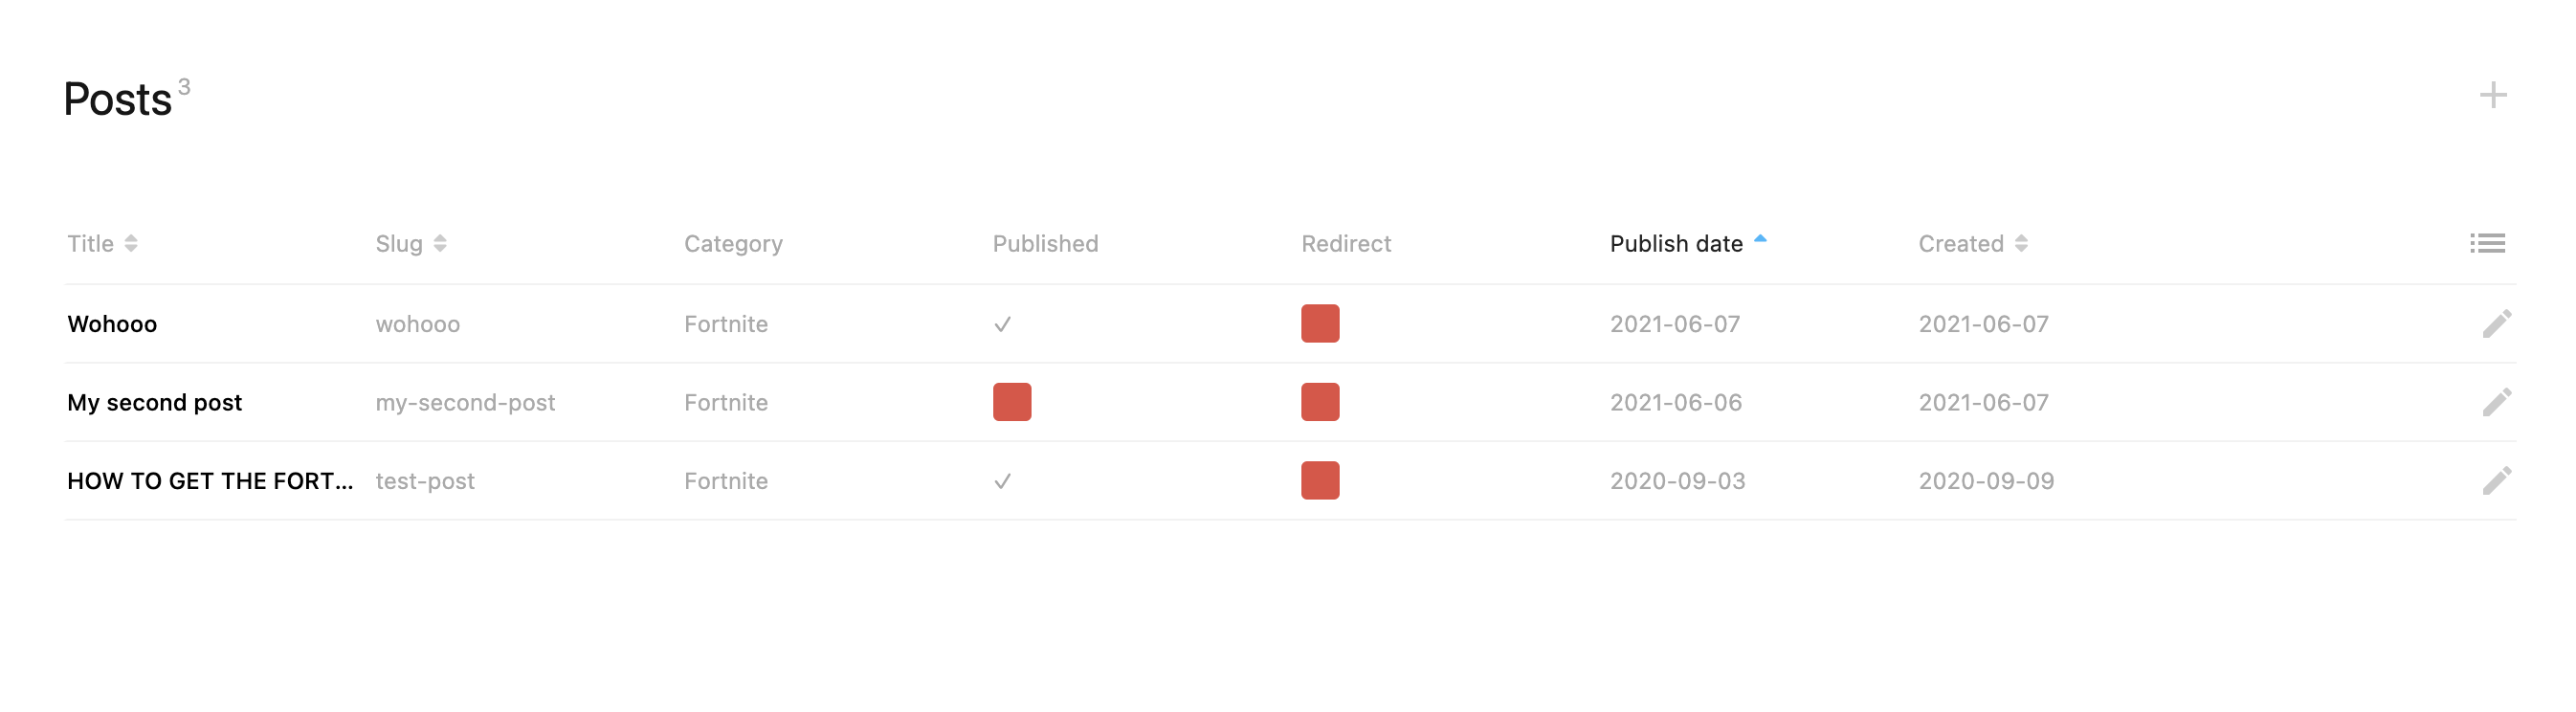
- Navigate to Content > Posts
- On the top right of the page, click the + icon
- This is where you’ll add all your post details
| Field | Description |
|---|---|
| Published | Tick to make the post visible on the site. Untick to keep a draft |
| Title | What the post will be named |
| URL slug | The link to the post. Click Generate to build it from the title |
| Published by | The author shown on the post |
| Publish date | The date you’d like to use as the date of creation (the posts are ordered by publish date) |
| Category | What category/filter you would like for the post (see below, not required) |
| Redirect type | If you would like to redirect to an external post, with the Redirect url to send visitors to |
| SEO title | What search engines will use for the title of the post |
| SEO description | What description search engines will use for the post |
| SEO keywords | Keywords for search engines. A Google Preview shows how the result will look |
| Featured image | The image used on the blog ‘posts’ page (also within the header of the post page itself, if using default layout) |
| Post content | The post itself, images and videos are available to be used within this WYSIWYG editor. Images can be dragged and dropped into this area. |
- Save the post
Post categories
Categories can be used to filter a set of posts in your blog down to a specific topic (particularly useful if you have a large number of posts)
Create a category
- Log into the admin
- Navigate to Content > Categories
- On the top right of the page, click the + icon
- Enter the Category name, choose a Tag color (useful if using a number of categories) and optionally an Image
- Save the category
Add category to post
- Log into the admin
- Navigate to Content > Posts
- Search for the post in question
- Click on the edit pencil icon
- Find the Category field and start typing the name of the category
- Select the category in the autocomplete (case sensitive)
- Save the post